本文主要介绍了如何通过 KubeClipper 快速搭建一个 K8S 集群,以及如果在 K8S 集群中安装 Istio,最后则是通过官方 demo bookinfo 简单展示 Istio 如何使用。
先挖个坑,最近会写一些 Istio 相关的文章,包括
什么是 Istio
为什么需要 Istio(Istio 的作用)
Istio 的大致原理
Istio 的安装、使用 等
..
如果不鸽的话 :joy:
本文主要为 Istio 环境部署,暂时不管 Isito 是怎么用的,怎么实现的,先跑起来再说。
文章分为三部分:
1)安装 K8S 集群 2)安装 Istio 3)部署官方 Demo 体验 Istio 1. 安装 K8S 集群
由于 Istio 需要一个 K8S 集群,因此我们需要先装一个。
这里可以参考这篇文章Kubernetes教程(十一)—使用 KubeClipper 通过一条命令快速创建 k8s 集群 。
有一台虚拟机、云主机的话都在几分钟内把集群部署好。
2. Istio 安装
getting-start
下载 Istio
下载 Istio,可以去 release页面 手动下载并解压,或者通过官方提供的脚本自动下载解压:
1
curl -L https://istio.io/downloadIstio | sh -
国内网络问题,脚本大概率下载不动,需要手动下载。
1
2
wget https://github.com/istio/istio/releases/download/1.18.1/istio-1.18.1-linux-amd64.tar.gz
tar -zxvf istio-1.18.1-linux-amd64.tar.gz
压缩包里包含以下内容
1
2
3
4
5
6
7
8
9
[ root@vela istio-1.18.1] # ll
total 28
drwxr-x--- 2 root root 22 Jul 14 04:37 bin
-rw-r--r-- 1 root root 11348 Jul 14 04:37 LICENSE
drwxr-xr-x 5 root root 52 Jul 14 04:37 manifests
-rw-r----- 1 root root 986 Jul 14 04:37 manifest.yaml
-rw-r--r-- 1 root root 6595 Jul 14 04:37 README.md
drwxr-xr-x 24 root root 4096 Jul 14 04:37 samples
drwxr-xr-x 3 root root 57 Jul 14 04:37 tools
各个目录的作用:
bin:存放的是 istioctl 工具 manifests:相关 yaml 用于部署 Istio的 samples:一些 Demo 用的 yaml tools:一些工具,暂时使用不到 先将istioctl工具 cp 到 bin 目录下,便于后续使用 istioctl 命令。
1
cp bin/istioctl /usr/local/bin/
安装 Istio
由于易用性的问题,Istio 废弃了以前的 Helm 安装方式,现在使用 istioctl 即可一键安装。
Istio 提供了以下配置档案(configuration profile)供不同场景使用,查看当前内置的 profile:
 1
 2
 3
 4
 5
 6
 7
 8
 9
10
$ istioctl profile list
Istio configuration profiles:
    default
    demo
    empty
    external
    minimal
    openshift
    preview
    remote
具体每个 profile 包含哪些组件,可以使用istioctl profile dump命令查看:
1
$ istioctl profile dump demo
输出比较多,就不展示了
对于演示环境,我们直接安装 demo 版本就可以了
1
istioctl install --set profile = demo -y
安装可能需要一些时间,耐心等待即可,安装完成后,输出如下:
1
2
3
4
5
✔ Istiod installed
✔ Ingress gateways installed
✔ Egress gateways installed
✔ Installation complete
Making this installation the default for injection and validation.
部署完成后,还有很重要的一步:
给命名空间打上 label ,告诉 Istio 在部署应用的时候,自动注入 Envoy 边车代理:
1
kubectl label namespace default istio-injection= enabled
验证是否安装成功
安装后可以验证是否安装正确。
1
2
3
4
5
6
# 先根据安装的profile导出manifest
istioctl manifest generate --set profile = demo > $HOME /generated-manifest.yaml
# 然后根据验证实际环境和manifest文件是否一致
istioctl verify-install -f $HOME /generated-manifest.yaml
# 出现下面信息则表示验证通过
✔ Istio is installed and verified successfully
查看一下安装了些什么东西:
1
2
3
4
5
[ root@vela istio-1.18.1] # kubectl get pods -n istio-system
NAME READY STATUS RESTARTS AGE
istio-egressgateway-5bb5844-72qlg 1/1 Running 0 5m14s
istio-ingressgateway-5948b68c88-74vsb 1/1 Running 0 5m14s
istiod-845c49bbfd-zj626 1/1 Running 0 6m17s
可以看到只安装了出入站网关以及最重要的 Istiod 服务。
再看下 CRD 情况
 1
 2
 3
 4
 5
 6
 7
 8
 9
10
11
12
13
14
15
16
[ root@vela istio-1.18.1] # kubectl get crds |grep istio
authorizationpolicies.security.istio.io 2023-07-23T04:42:38Z
destinationrules.networking.istio.io 2023-07-23T04:42:38Z
envoyfilters.networking.istio.io 2023-07-23T04:42:38Z
gateways.networking.istio.io 2023-07-23T04:42:38Z
istiooperators.install.istio.io 2023-07-23T04:42:39Z
peerauthentications.security.istio.io 2023-07-23T04:42:39Z
proxyconfigs.networking.istio.io 2023-07-23T04:42:39Z
requestauthentications.security.istio.io 2023-07-23T04:42:39Z
serviceentries.networking.istio.io 2023-07-23T04:42:39Z
sidecars.networking.istio.io 2023-07-23T04:42:39Z
telemetries.telemetry.istio.io 2023-07-23T04:42:39Z
virtualservices.networking.istio.io 2023-07-23T04:42:39Z
wasmplugins.extensions.istio.io 2023-07-23T04:42:40Z
workloadentries.networking.istio.io 2023-07-23T04:42:40Z
workloadgroups.networking.istio.io 2023-07-23T04:42:40Z
这些就是 istio 需要用到的 CRD 了,比较常见的比如:
gateways virtualservices destinationrules … 部署 Dashboard
3. 部署 bookinfo 应用
官方提供了 bookinfo 应用来演示 Istio 相关功能。
部署应用
1
kubectl apply -f samples/bookinfo/platform/kube/bookinfo.yaml
输出如下:
 1
 2
 3
 4
 5
 6
 7
 8
 9
10
11
12
13
14
15
[ root@vela istio-1.18.1] # kubectl apply -f samples/bookinfo/platform/kube/bookinfo.yaml
service/details created
serviceaccount/bookinfo-details created
deployment.apps/details-v1 created
service/ratings created
serviceaccount/bookinfo-ratings created
deployment.apps/ratings-v1 created
service/reviews created
serviceaccount/bookinfo-reviews created
deployment.apps/reviews-v1 created
deployment.apps/reviews-v2 created
deployment.apps/reviews-v3 created
service/productpage created
serviceaccount/bookinfo-productpage created
deployment.apps/productpage-v1 created
在 default 命名空间创建了应用对应的 service 和 deployment。
服务启动需要一定时间,可通过以下命令进行查看:
 1
 2
 3
 4
 5
 6
 7
 8
 9
10
11
12
13
14
15
[ root@vela istio-1.18.1] # kubectl get pods
NAME READY STATUS RESTARTS AGE
details-v1-698b5d8c98-p5kwm 0/1 ContainerCreating 0 37s
productpage-v1-75875cf969-frn4z 0/1 ContainerCreating 0 35s
ratings-v1-5967f59c58-zbldg 0/1 ContainerCreating 0 36s
reviews-v1-9c6bb6658-kztz7 0/1 ContainerCreating 0 36s
reviews-v2-8454bb78d8-jzghc 0/1 ContainerCreating 0 36s
reviews-v3-6dc9897554-qvn7g 0/1 ContainerCreating 0 36s
[ root@vela istio-1.18.1] # kubectl get pods
NAME READY STATUS RESTARTS AGE
details-v1-698b5d8c98-p5kwm 0/1 ContainerCreating 0 38s
productpage-v1-75875cf969-frn4z 0/1 ContainerCreating 0 36s
ratings-v1-5967f59c58-zbldg 0/1 ContainerCreating 0 37s
reviews-v1-9c6bb6658-kztz7 0/1 ContainerCreating 0 37s
reviews-v2-8454bb78d8-jzghc 0/1 ContainerCreating 0 37s
等 pod 都启动后,通过以下命令测试应用是否正常启动了:
1
kubectl exec " $( kubectl get pod -l app = ratings -o jsonpath = '{.items[0].metadata.name}' ) " -c ratings -- curl -s productpage:9080/productpage | grep -o "<title>.*</title>"
输出以下内容就算成功
1
<title>Simple Bookstore App</title>
部署网关
此时,BookInfo 应用已经部署,但还不能被外界访问。需要借助网关才行
1
kubectl apply -f samples/bookinfo/networking/bookinfo-gateway.yaml
输出如下:
1
2
3
[ root@vela istio-1.18.1] # kubectl apply -f samples/bookinfo/networking/bookinfo-gateway.yaml
gateway.networking.istio.io/bookinfo-gateway created
virtualservice.networking.istio.io/bookinfo created
可以看到, 这里部署了一个网关(gateway)和一个虚拟服务(virtualservice)。
这里不知道也没关系,后续文章会讲的:grin:
此时在浏览器中,输入http://localhost/productpage应该可以访问到具体页面了。
外部访问则需要通过 NodePort 访问:
1
2
3
[ root@vela istio-1.18.1] # kubectl -n istio-system get svc istio-ingressgateway
NAME TYPE CLUSTER-IP EXTERNAL-IP PORT( S) AGE
istio-ingressgateway LoadBalancer 10.108.211.196 <pending> 15021:31160/TCP,80:32096/TCP,443:30055/TCP,31400:31682/TCP,15443:30083/TCP 22m
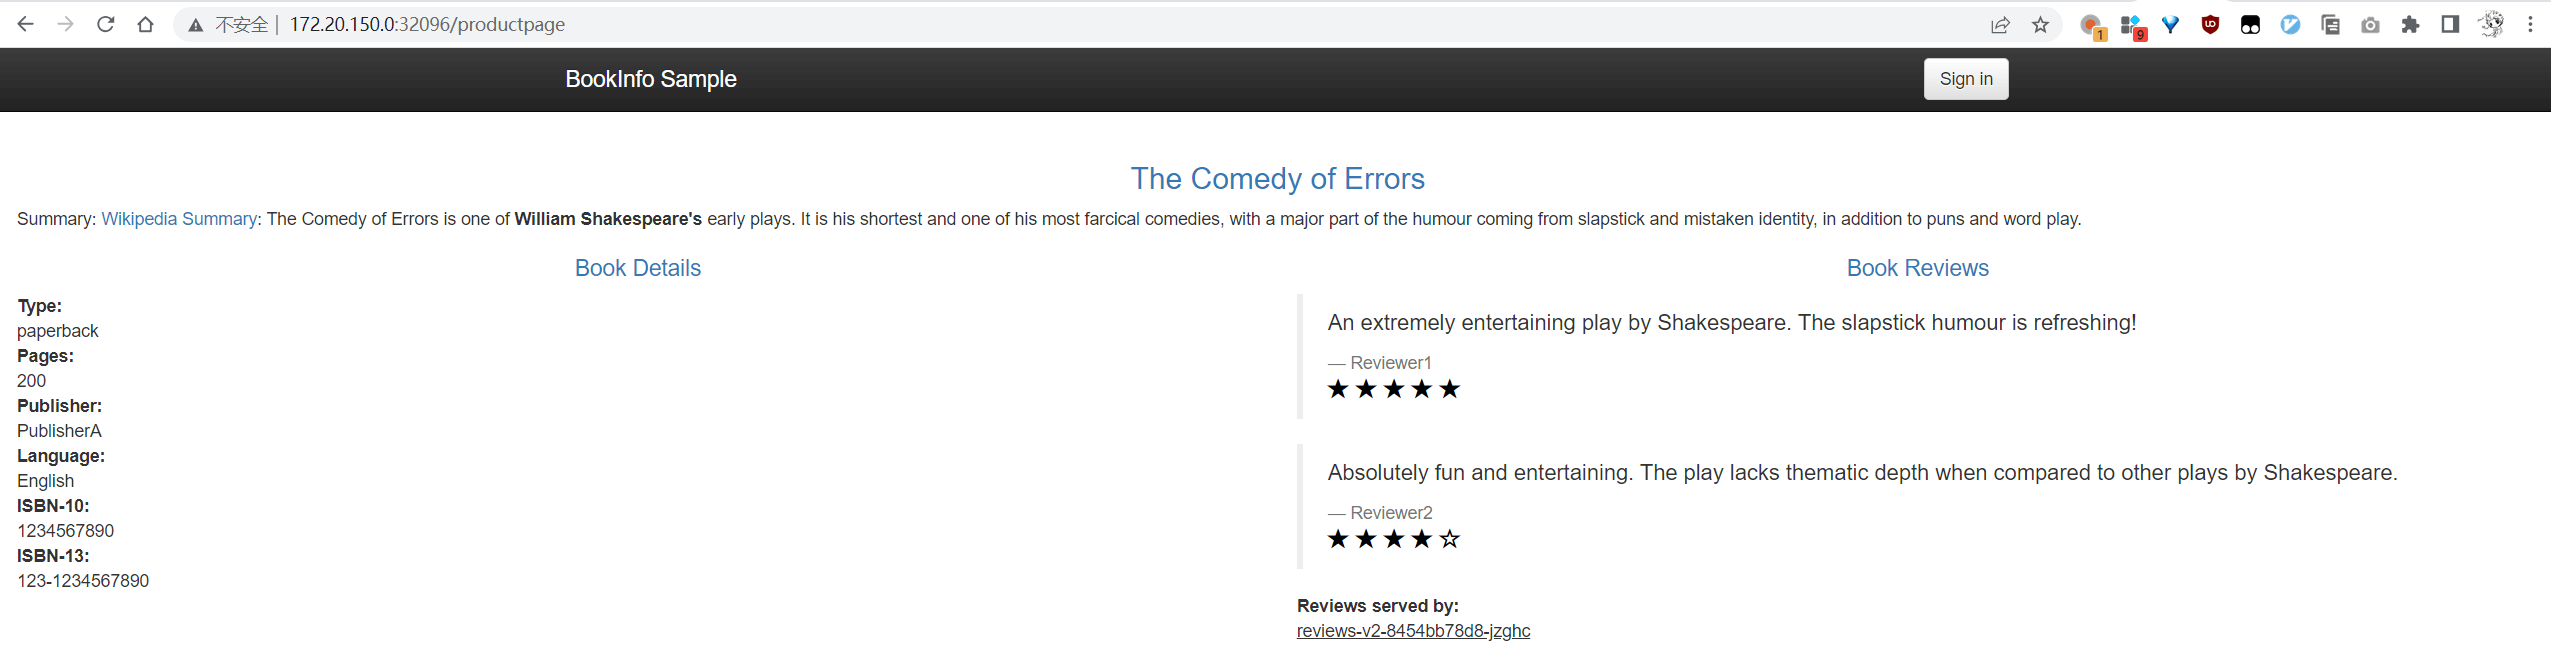
可以看到,80 端口对应的 NodePort 为 32096,那么直接访问的 URL 就是:http://$IP:32096/productpage。
能看到以下界面就算成功:
4. Dashboard
Istio 也提供了 Dashboard,可以通过UI 界面更加方便的进行管理,安装命令如下:
1
kubectl apply -f samples/addons
等待安装完成
1
2
3
[ root@vela istio-1.18.1] # kubectl rollout status deployment/kiali -n istio-system
Waiting for deployment "kiali" rollout to finish: 0 of 1 updated replicas are available..
kubectl rollout status deployment/kiali -n istio-system.
访问 bashboard:
1
istioctl dashboard kiali
该命令会自动打开浏览器,若失败则手动访问。
外部访问则把 service 改成 nodeport 类型即可
1
kubectl -n istio-system patch svc kiali -p '{"spec":{"type":"NodePort"}}'
查看修改后的端口
1
2
3
[ root@vela istio-1.18.1] # kubectl -n istio-system get svc kiali
NAME TYPE CLUSTER-IP EXTERNAL-IP PORT( S) AGE
kiali NodePort 10.101.47.41 <none> 20001:31989/TCP,9090:32136/TCP 4m14s
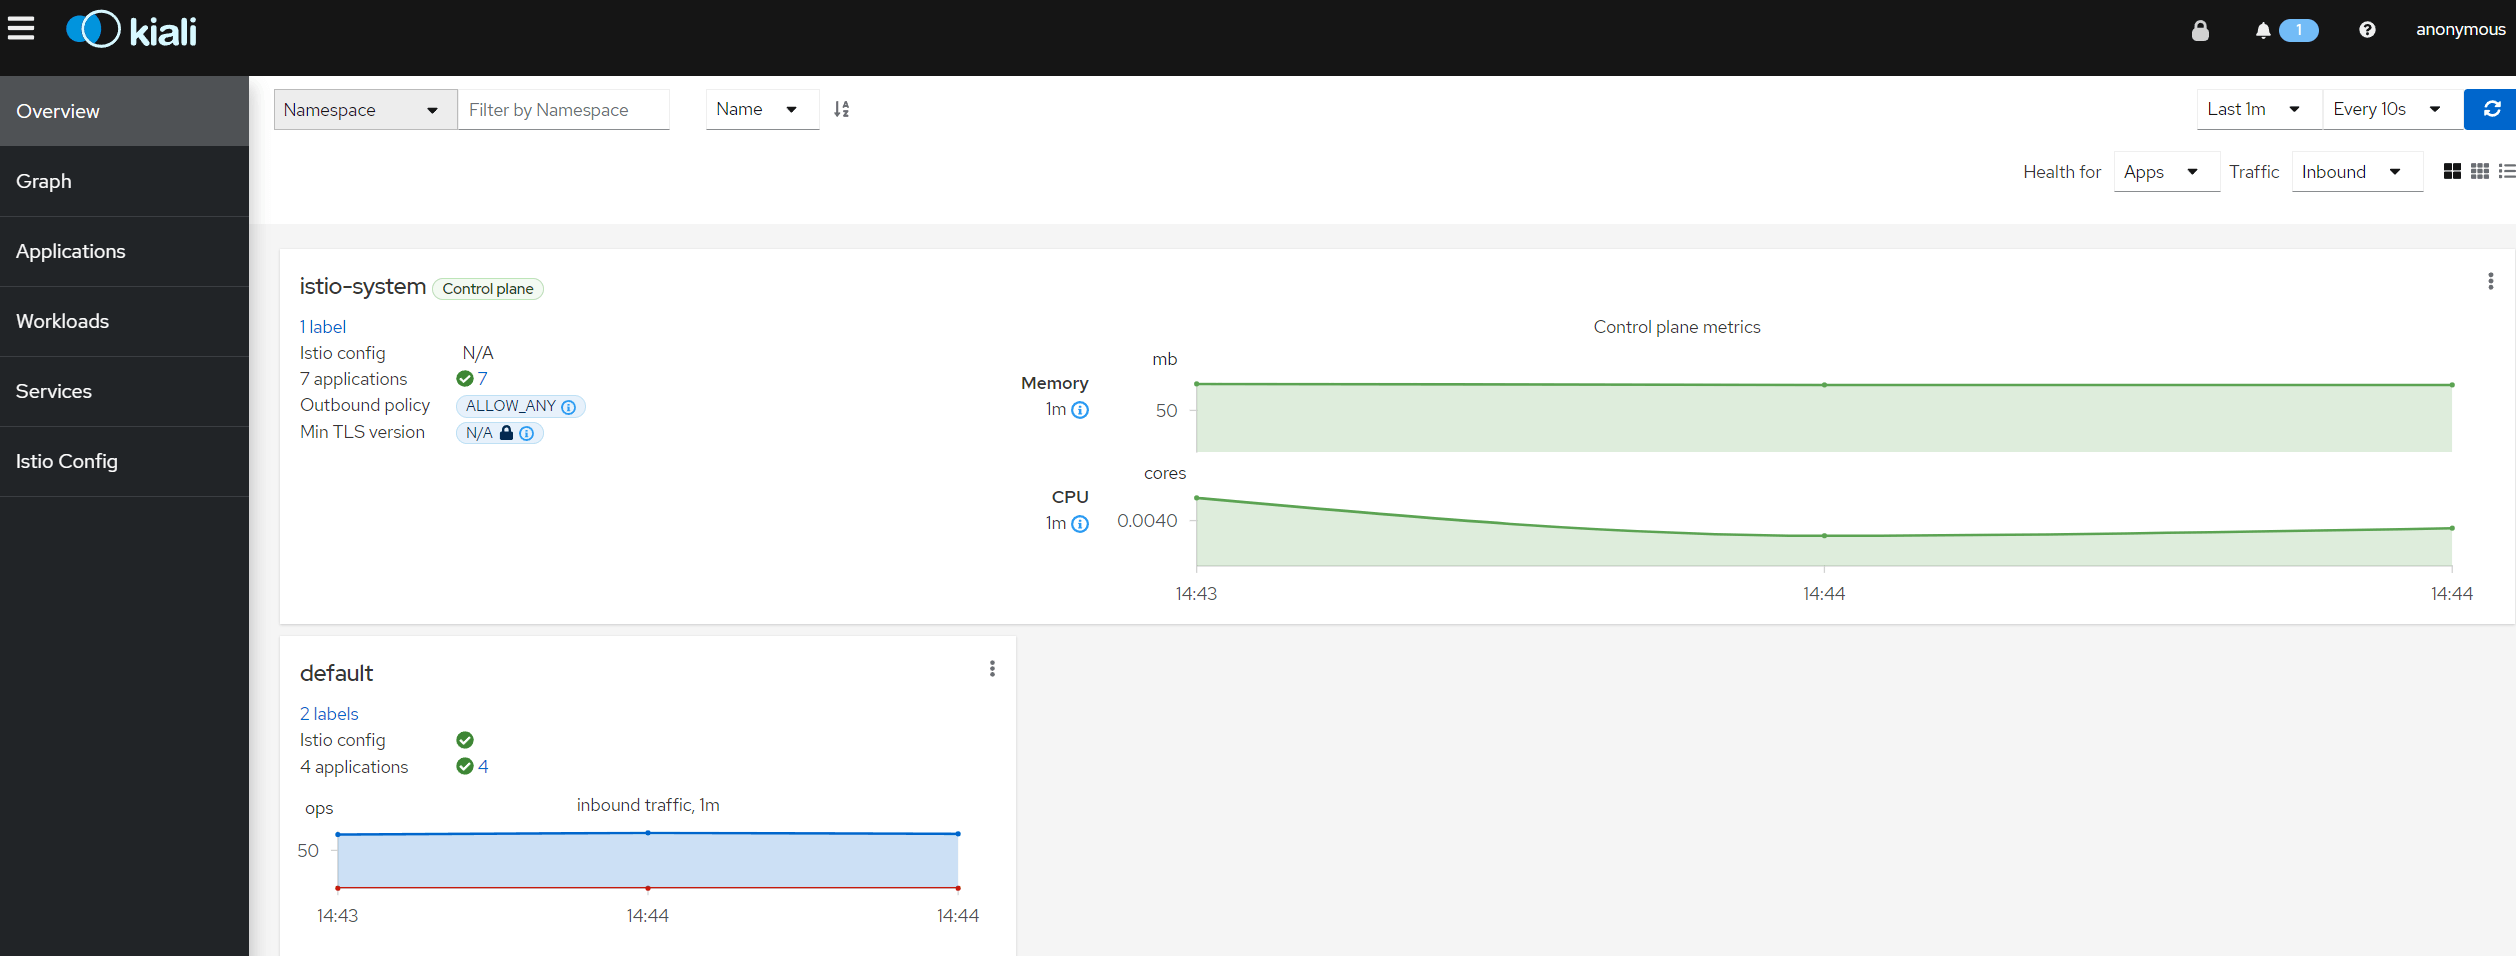
访问 http://$IP:31989 即可,界面长这样:
在主界面可以看到部署的服务以及请求量、资源使用量等情况。
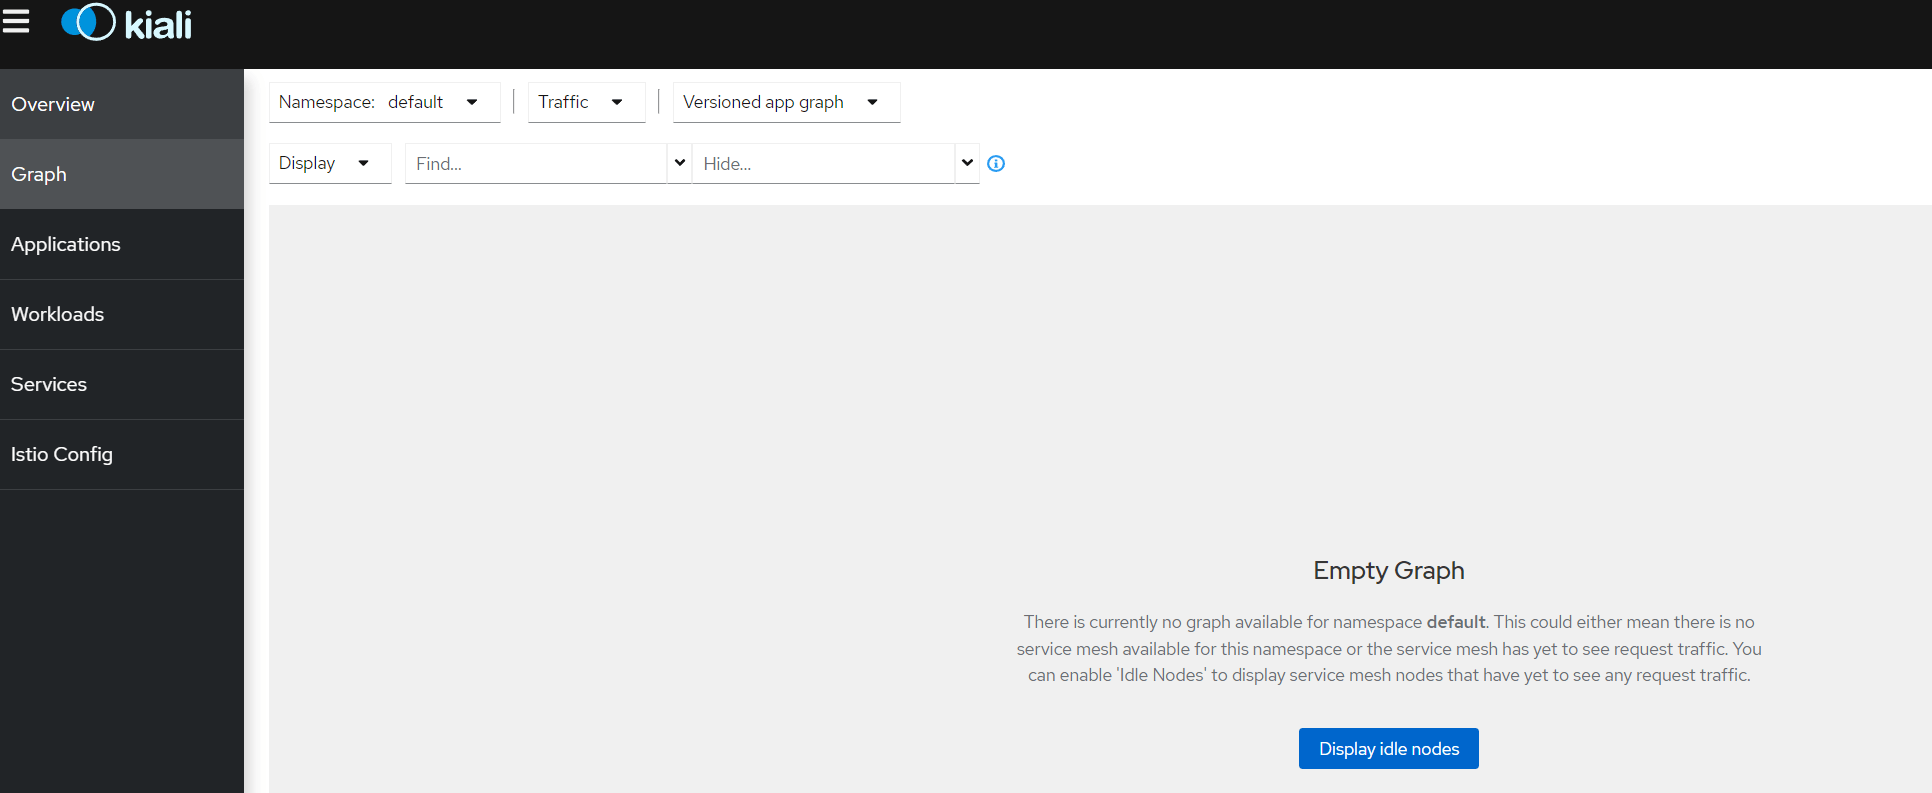
在 Graph 界面则能够看到,服务间流量分发情况。
由于之前部署的 bookinfo 服务没怎么访问,所以界面是空白的,先通过 curl 命令访问一下
1
2
3
clusterIP = $( kubectl -n istio-system get svc istio-ingressgateway -ojsonpath= '{.spec.clusterIP}' )
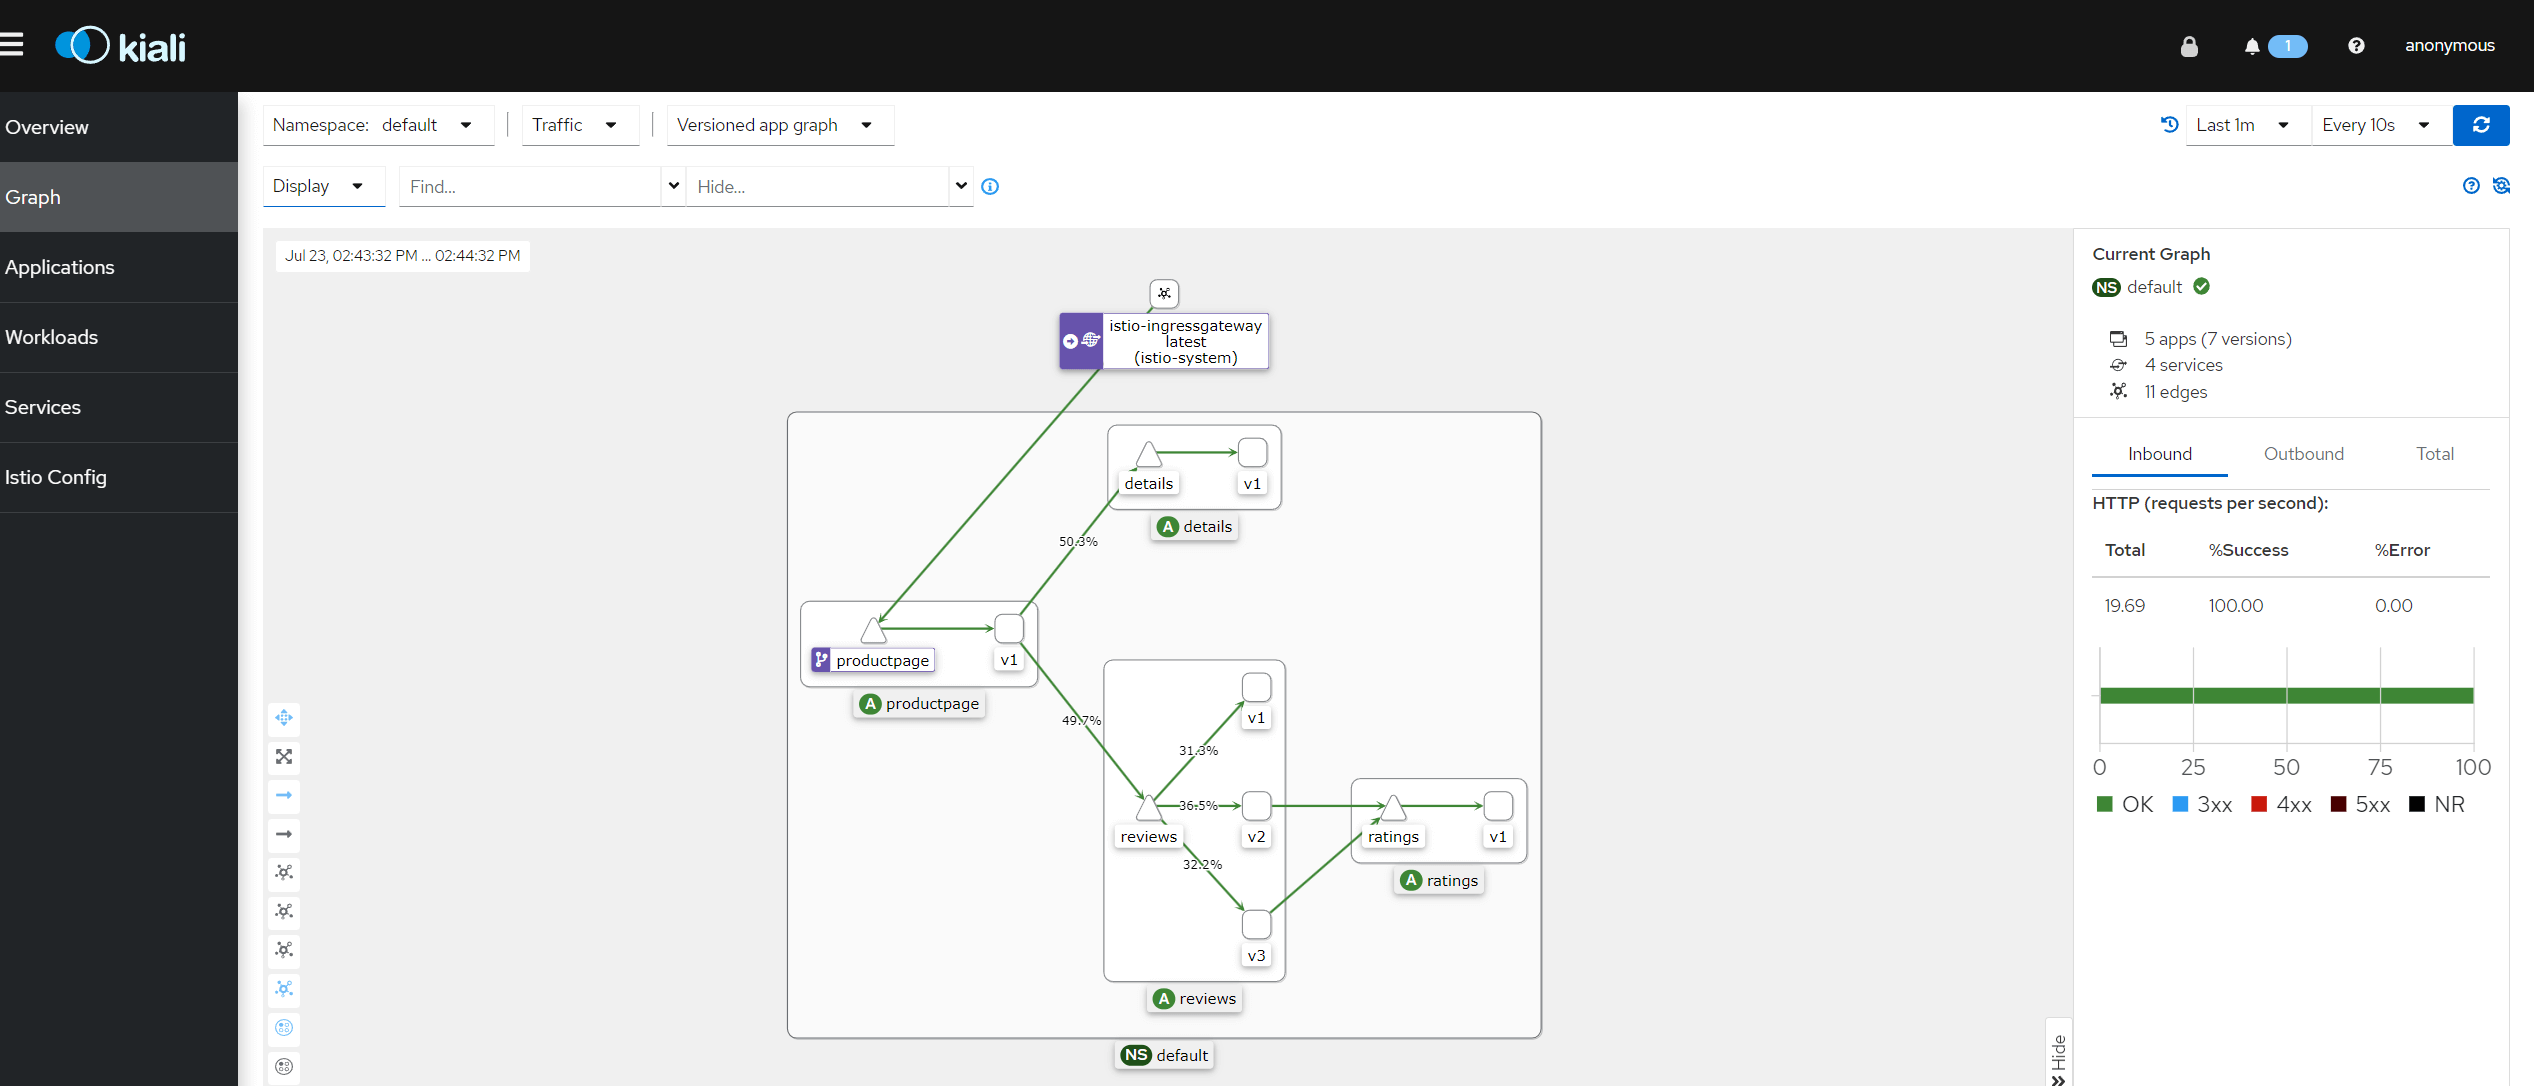
for i in $( seq 1 100) ; do curl -s -o /dev/null "http:// $clusterIP :80/productpage" ; done
再次查看就可以看到流量分发情况了
5. 卸载 Istio
以下命令卸载 Istio 并删除所有相关资源
1
2
kubectl delete -f samples/addons
istioctl x uninstall --purge -y
删除 namespace
1
kubectl delete namespace istio-system
移除之前打的 label
1
kubectl label namespace default istio-injection-
到这里,Istio 的安装就结束了,后续就可以用起来了。
怎么感觉又水了一篇文章,划掉:rofl: